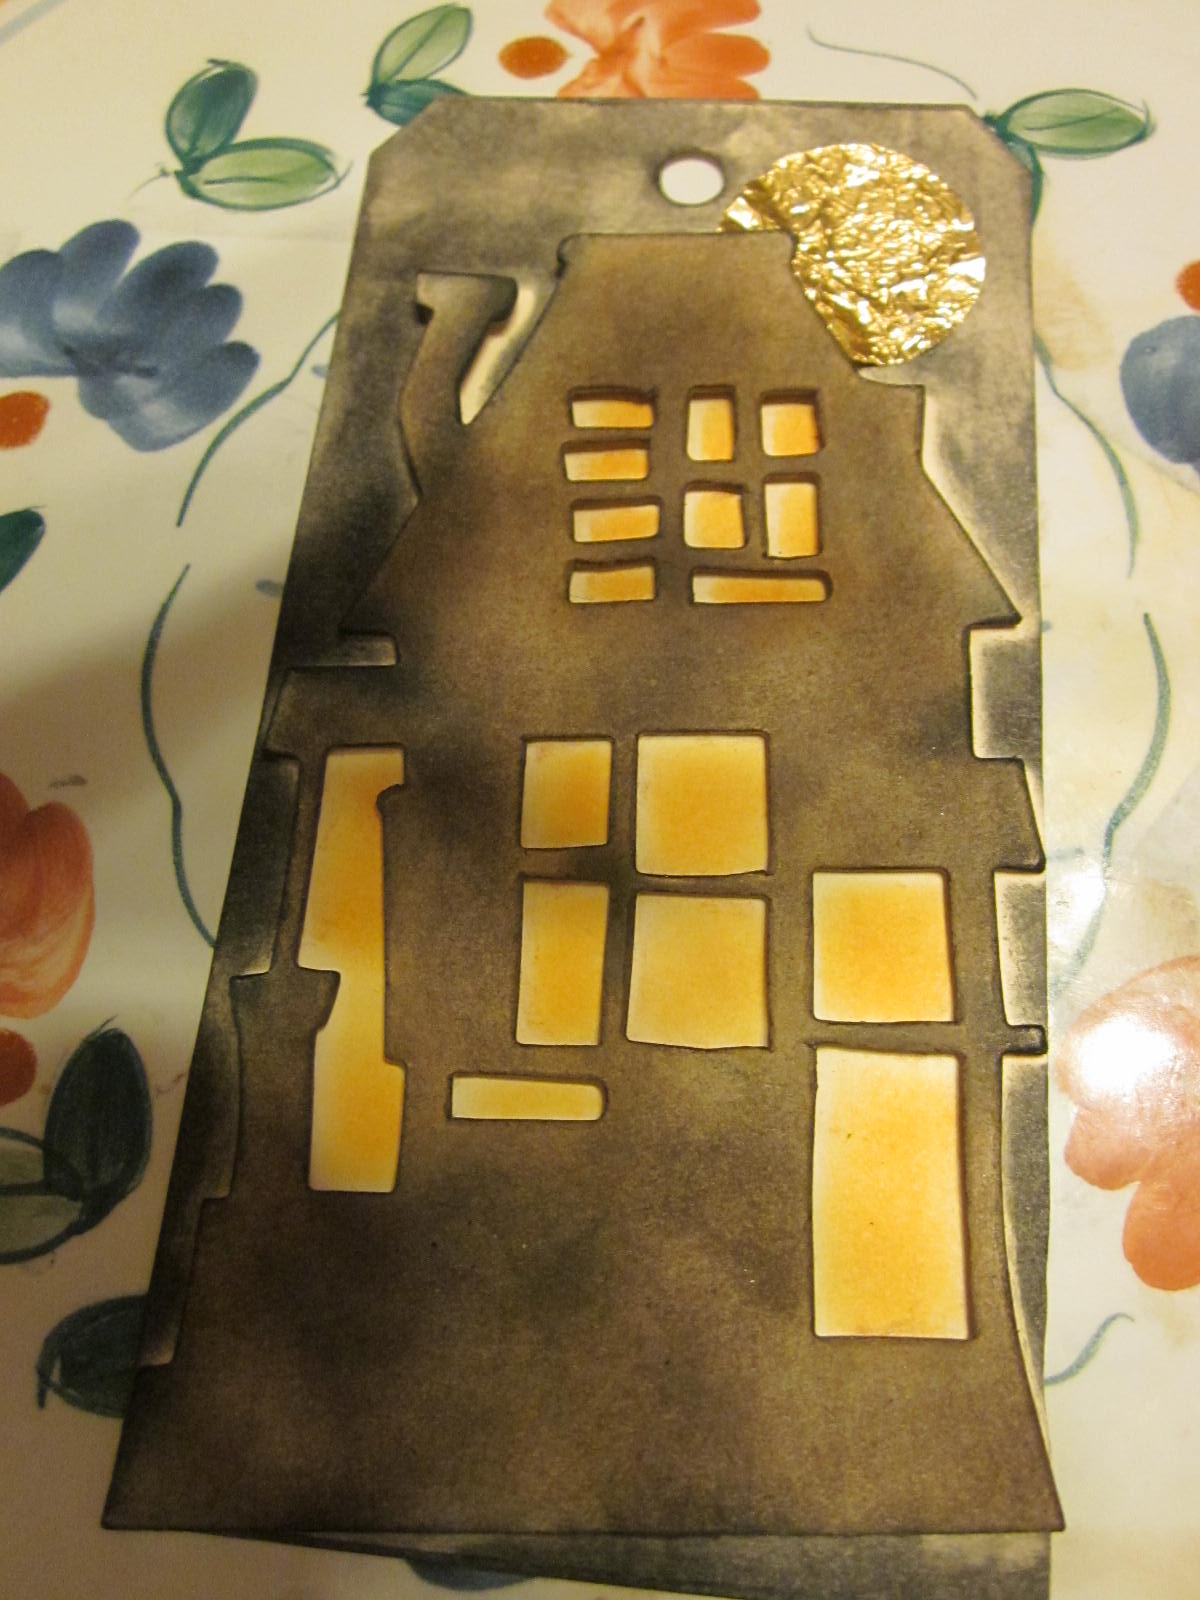
As you all know I do a ton of swapping, or at least that's what I keep saying, LOL
I'd like to take some time to show you the things I've made to swap, and what I've received in return.
Not all of it, but a sampling of my swapping treasures!
Let start, at the beginning of this month I sent out this darling tag,

along with what I call some extras. They were spring themed to go with the swap. I always try to send extras with my swaps, as allot of my first swaps came to me with them, so it's like a secret swappers added bonus (one I <3!)
Here's the package I received in return:

This lovely vintage looking tag

And a handmade ATC

Front (above) and back

As well as these goodies, that were all wrapped up in the pink lace in the top photo.

Thanks again Amy Jo!
Now a last month I set up a CRAZY swap via my blog. I think allot of my followers were over whelmed by the size of the posting, and had a hard time wrapping their heads around what exactly it all involved.
That is ESPECIALLY WHY I HAVE TO SHOW YOU this one!!
It seems lately there have been an odd # of people joining my swaps, so sometimes I just ask another DT member if they'd like to swap 2 people. Well, actually this time Leanne offered to swap 2 people, so it worked out that we got to swap.

I picked to send:
3 VICTORIAN THEMED photos (wallet size- minimum)
2 product advertisements
2 greeting cards/ trade cards
and
6 various buttons
1 pkg. of rhinestones/ pearls applique (in a design/ pattern)
as well as:
2 metal charms (keys, etc ~ minimum 2")
And this is what my swap contents looked like:


I added this antique looking silver bead to my plain pin, and accented it with a few dabs of Liquid pearls (bet you thought they were real, LOL)
Front

I used some vintage looking 8 1/2" x 11" paper, and folded it in half length ways,
then again width ways to make sort of a card.
then again width ways to make sort of a card.
Inside

I used old fashioned photo corners, to hold all of the photos in place,
Back

and to also make them removable for use on another project.
Digging through my mountains of items I have on hand I came across this stunner!

A full sheet of vintage looking ads,
But I also wanted to add in some great ones I printed from my computer!

I found these great vintage seed package fronts,

and 2 paintings from that time that inspired me.

I tidied them all together in this neat little package.
I also added these 2 greeting cards.
The 1st one, on the left, is a french April Fool's Day card.

The second is actually a post card.

I inked the envelope slightly, and tidied them neatly with ribbon.

From the second group I picked the vintage looking pkg. of rhinestones/ pearls applique (in a design/ pattern) . I actually had to give her both of these, as I couldn't pick just one!


and added another handmade vintage looking stick-pin I made.
Next were my vintage looking buttons.

I printed out these awesome button cards, cut them out, and hand stitched the buttons onto them.
Front

Then handmade this gift box from a toilet paper roll, to hold the buttons.
Back

I simply inked it for age, as well as added a vintage ad to the back, and a tag on the front.
Lastly were the 2 vintage charms, but because of sizing I included 3.

I love the look of this button card so much I just had to use it again!
All the charms were again hand stitched in place.

I wrapped them in this handmade mini envelope, complete with monogrammed "L".

I also inked the envelope edges, and added another handmade stick pin to close it.

Here's a close up of the pin.
As you can see I followed the guidelines, and added a few extras too.
I would consider the mini book, the full sheet of Ephemera, as well as the small pk. of rhinestone, the 3 stick pins and of course All the special wrapping as my extra special additives for this package!
Now, tell me doing/ giving all that was worth getting this:
 These are the goodies I received from Leanne:
There were two of these beautifully handmade paper wrapped packages.


The first contained this

 She put them all in the handmade holder, with flower pocket, pictured on the far left.
This lovely photograph holder, was also included,

containing 3 vintage Victorian photos.
 I know I'll be using this holder as a pocket on one of my up and coming projects!
The second contained this lovely notebook,
 in pink and black and white. <3
 It also contains stamped inspiration on the inside pages as well.
This for sure is an added bonus!
These goodies were also in my envelope:
 Two decorated dress forms wearing the 2 pieces of vintage style lace, accented with the 3 stick pins.
Some bonus loose inspirational words,
As well as, this pretty purple lady.
 Yes people, a paper doll was one of the things we could add.
And I think she's simply stunning, all bling-ed out with rhinestone button, necklace and a flower in her hair!!
 Here's a close up of the 2 dress forms, I love the detail, they look like real wood!

an added extra little goodie of string

And this darling organza bag containing
 some different vintage themed die cuts, and an extra of 3 metal charms.
 STUNNING!!
LOVE, Love, LOVED this trade!!
So next time a swap looks like it may be hard, or allot of effort, just think back to what you just saw!
This is a small taste of what goes in and out of my mailbox!!
Hope you've enjoyed this peak, and I hope to keep you "posted" more often on what I'm Swapping!!
~Elysia
As you can see I followed the guidelines, and added a few extras too.
I would consider the mini book, the full sheet of Ephemera, as well as the small pk. of rhinestone, the 3 stick pins and of course All the special wrapping as my extra special additives for this package!
Now, tell me doing/ giving all that was worth getting this:

There were two of these beautifully handmade paper wrapped packages.


The paper was inked and stamped, she also sealed each with wax! WOW!

lovely grouping of vintage advertisements.

This lovely photograph holder, was also included,


The second contained this lovely notebook,


This for sure is an added bonus!
These goodies were also in my envelope:

Some bonus loose inspirational words,
As well as, this pretty purple lady.

And I think she's simply stunning, all bling-ed out with rhinestone button, necklace and a flower in her hair!!


an added extra little goodie of string

And this darling organza bag containing


LOVE, Love, LOVED this trade!!
So next time a swap looks like it may be hard, or allot of effort, just think back to what you just saw!
This is a small taste of what goes in and out of my mailbox!!
Hope you've enjoyed this peak, and I hope to keep you "posted" more often on what I'm Swapping!!
~Elysia